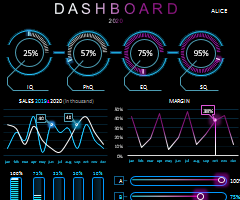
Dashboard Controls
The dashboard controls allow you to set up your personal account, add your e-signature, personal information, payment, download and print test components, reports, examinees’ list, and assessments. Kindly read the steps below:
- To enter the dashboard, click “examiner login”, enter your username and password, and click “login”.
- Under action menu, click “my profile” where you can edit your information.
- Under e-signature, click “choose file” to upload an image of your e-signature, which is important for issuing the report.
- To add a profile picture, click “choose file” under “photo” and upload your picture.
- Update all other information as necessary.
- To view the test manual, possible correct answer forms, and test forms, click “test components”.
- To view all orders, click “order history” under the action menu, and click on “pay/upload payment” to view/upload payment slip.
- To generate a report, click “report” under the action menu and select the exam and examinee.
- To add the examinees, click “examinee” under the action menu, and then “add examinee” and fill out the examinee’s information and choose a username and password for the examinee.
- To add a new assessment, click “assessment” under the action menu, and choose a name for the assessment and click “insert”.
Watch the dashboard video
Dashboard Controls.docx,لوحة التحكم بالاختبار.docx
Attachments